
Photo quality coach
Check whether your cat photo is ready for a breed estimate.
This browser-first tool looks at brightness, sharpness, size, and crop shape before any AI generation step.
Only cat photos are recognized — non-cat images will return meaningless results
Example results
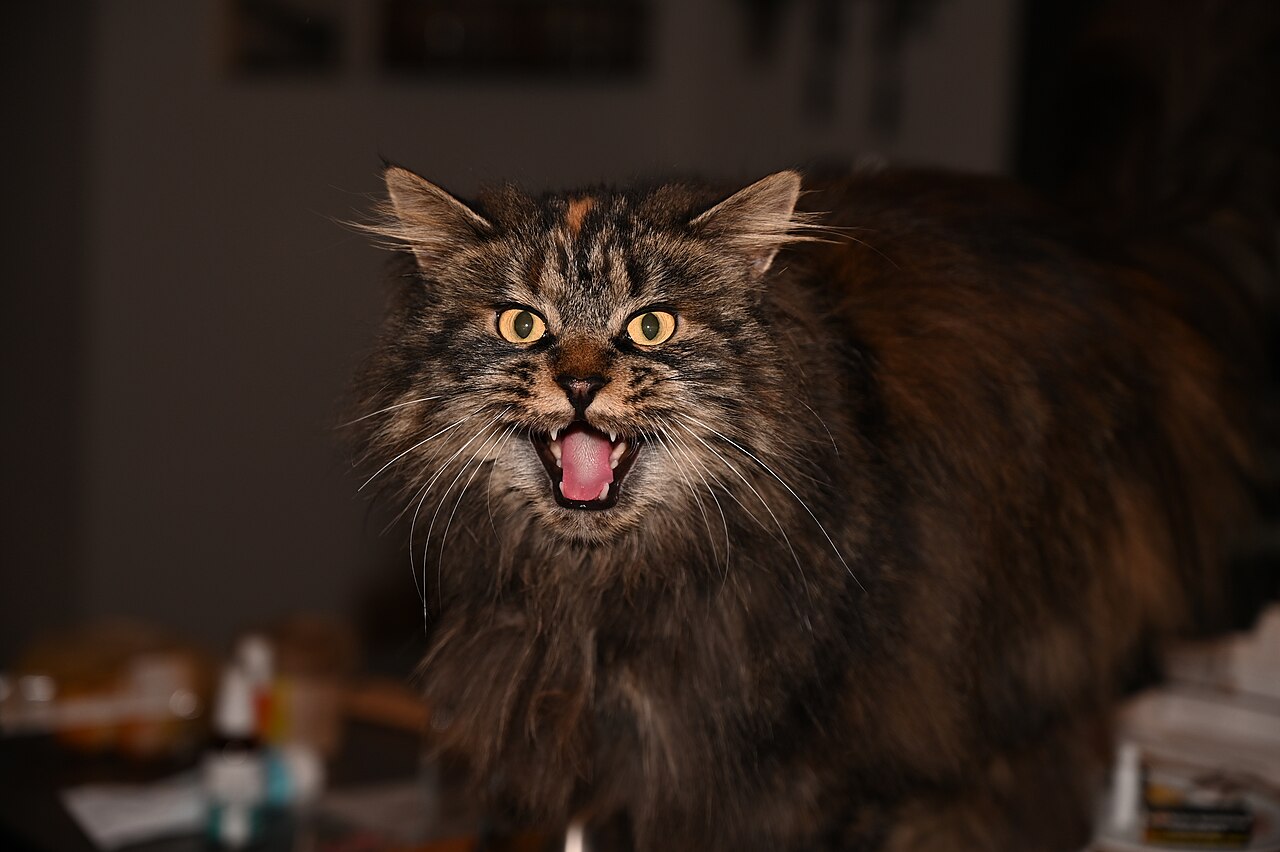
Maine Coon
~92%
Large frame, ear tufts, rectangular body
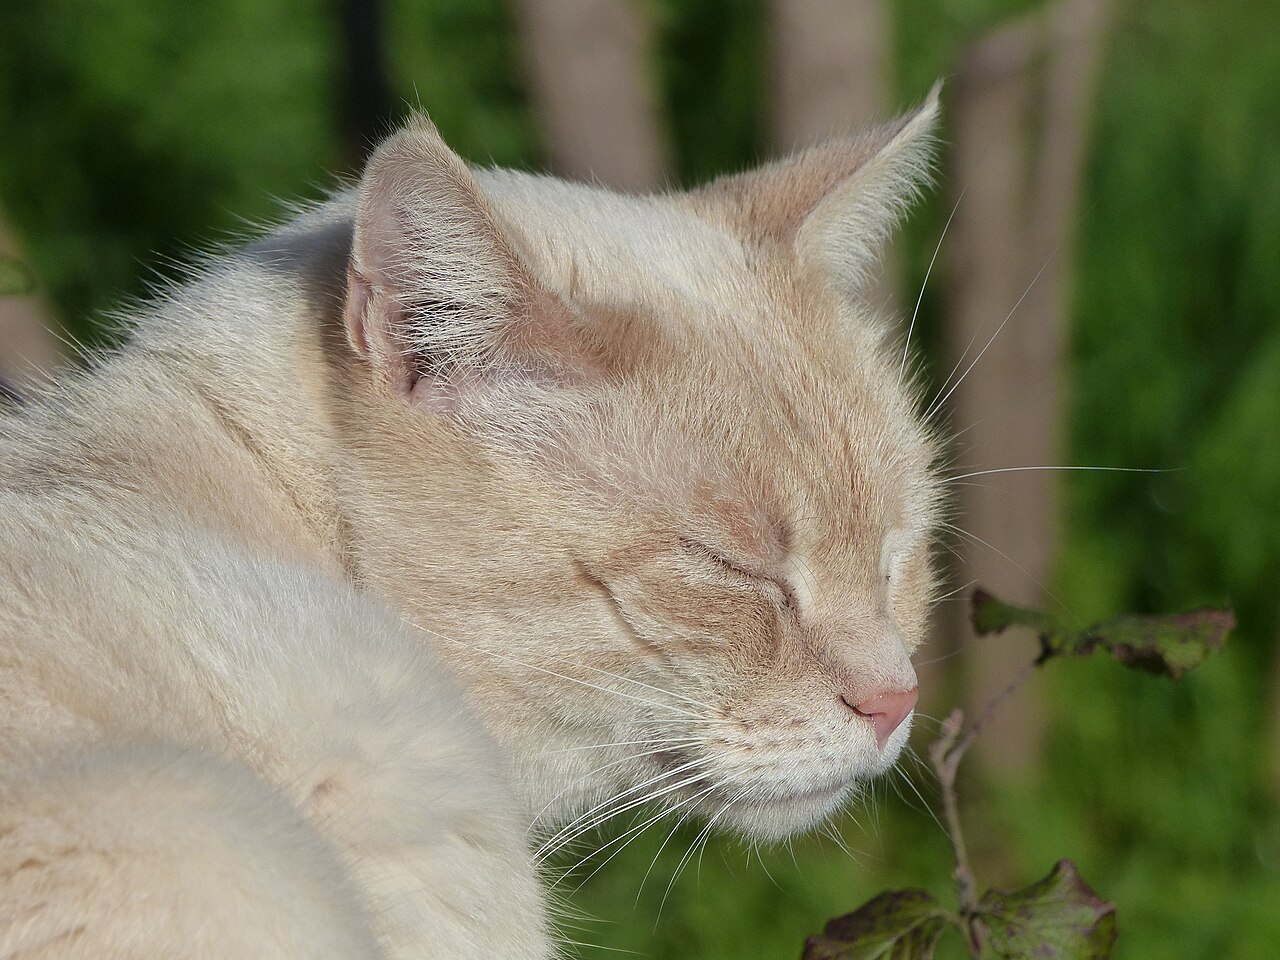
Siamese
~87%
Blue eyes, pointed coat, triangular face
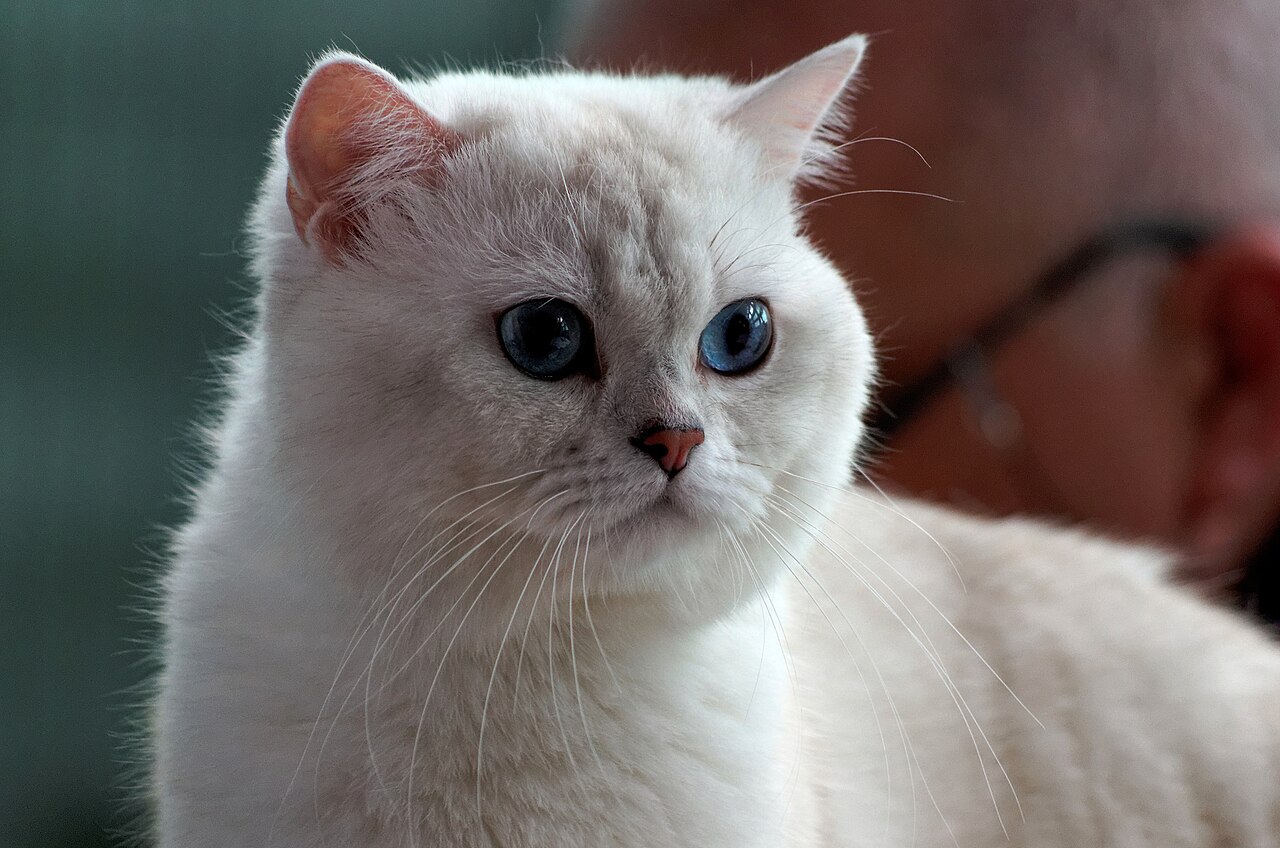
British Shorthair
~85%
Dense coat, round face, copper eyes
5 Key Photo Quality Metrics
Our photo quality coach evaluates your cat photos against five objective metrics before any AI processing happens.
1. Brightness
Lighting
Ideal rangeEvenly lit, no blown highlights or deep shadows. The cat's face and body should be clearly distinguishable from the background.
Soft, diffused natural light works best. Avoid direct flash — it washes out coat colors and causes red-eye.
2. Sharpness
Focus
Ideal rangeThe cat's face (especially the eyes, nose, and muzzle) is in crisp focus. Minor motion blur on the tail or background is acceptable.
Sharp images let the AI distinguish fine fur details and subtle patterns. Blurry images cause the AI to hallucinate incorrect details — hold the camera steady or use burst mode for active cats.
3. Image Size
Resolution
Ideal rangeAt least 800 pixels on the shortest side. Larger images (1200–2000px) retain more fine detail for pattern and texture analysis.
The AI needs sufficient pixel data to evaluate coat features. Upload the original photo file, not a compressed or forwarded version.
4. Crop and Framing
Composition
Ideal rangeThe cat's face fills at least 40% of the frame. The entire head is visible (no cropped ears or chin). The background is simple and non-distracting.
The AI focuses heavily on facial features. Show the cat's full face looking at the camera, with the head centered in the frame.
5. Background Clarity
Separation
Ideal rangeThe background contrasts with the cat's coat color. No other animals, people, or busy patterns competing for visual attention.
A matching background (black cat on a dark sofa) can confuse the AI. Plain, contrasting backgrounds produce the most reliable results.
How Photo Quality Affects AI Accuracy
Sharp, well-lit, properly framed photos let the AI focus on diagnostic traits like ear shape, muzzle length, and coat texture. Poor quality images force the model to "clean up" the photo first, reducing its accuracy and often producing uncertain or contradictory results.
Practical Tips for Better Cat Photos
Photo Scenarios: Indoor, Outdoor, Night, and Multi-Cat
Indoor photos (window light)
Position your cat near a large window with indirect sunlight. Mid-morning light (9–11 AM) provides the best balance — bright enough to show coat texture without harsh shadows. Avoid placing the cat directly in a sunbeam, which creates overexposed hot spots on the coat and deep shadows on the opposite side.
Outdoor photos
Overcast days are ideal for outdoor cat photos. Cloud cover diffuses sunlight evenly, reducing harsh shadows and producing accurate coat colors. On sunny days, shoot in open shade (under a tree or awning). Direct sunlight creates high contrast that can wash out pale coats and turn dark coats into silhouettes.
Night or low-light photos
The camera's flash is rarely the answer — it causes red-eye, washes out coat color, and creates harsh shadows behind the cat. Instead, increase ambient light by turning on all room lights and opening curtains. Most modern phone cameras with Night Mode can produce usable photos without flash if the cat is still.
Multi-cat environment
If you have multiple cats, isolate the subject cat in a separate room. Other cats in the frame can distract the AI and make it harder to assess facial features. A closed door and a treat are the simplest solution.
Coat Color and Lighting: Why Black and White Cats Need Different Approaches
Different coat colors respond very differently to the same lighting conditions. Understanding this can dramatically improve your photo quality:
Breed-Specific Angle Requirements
Different cat breeds have distinct facial structures that require specific photographic angles to capture diagnostic features:
Common Bad Photo Case Studies
Case 01
Overexposed white cat on a white bed
The cat's facial features are completely lost against the white sheets. The AI sees a white blob and cannot assess ear shape, eye color, or muzzle length.
Place the cat on a dark or colored blanket, and tap the cat's face on your phone screen to set exposure on the fur.
Case 02
Shadow hiding half the face
Window light from one side creates a dramatic shadow that obscures one eye, one ear, and half the muzzle. The AI only sees half the facial information.
Add a white poster board or paper on the shadow side to bounce light back onto the face. Even smartphones have enough dynamic range to fill shadows with a simple reflector.
Case 03
Busy background with other objects
A cat photographed in a cluttered room with toys, plants, and furniture competes for the AI's attention. The model may focus on background objects instead of the cat's face.
Move the cat to a plain wall or use Portrait Mode to blur the background. A simple backdrop gives the AI nothing else to analyze.
Case 04
Extreme close-up with cropped ears
Getting too close to the cat cuts off the top of the ears and the chin. Ear shape and size are critical breed clues.
Back up so the entire head fits comfortably in the frame with some margin. Crop later if needed — you cannot uncrop a too-tight shot.
FAQ: Troubleshooting Common Photo Problems
My cat never stays still. How do I get a sharp photo?+
Use burst mode — hold the shutter and take 10–20 rapid shots. One photo in the burst will almost certainly be sharp. Alternatively, wait until your cat is eating, sleeping, or relaxing after play. A treat taped to the wall at eye level can also buy you a few seconds of stillness.
Is flash the only option at night?+
No — avoid flash whenever possible. Instead, turn on every light in the room and use your phone's Night Mode (available on most modern smartphones). Night Mode merges multiple exposures to create a bright, sharp image without the harsh effects of flash. If you must use flash, diffuse it with a tissue over the light or bounce it off the ceiling.
Should I use Portrait Mode on my phone?+
Portrait Mode can help by blurring the background, but it sometimes blurs whiskers and ear tufts too — important breed-identification features. Use Portrait Mode carefully and check that the cat's face edges remain sharp. A plain physical background is always safer than relying on software blur.
My cat is all black and the photo looks like a black hole. What can I do?+
This is the most common cat photo problem. Three fixes: (1) increase exposure by tapping the cat's face and sliding the exposure adjuster up; (2) place the cat on a light-colored surface; (3) use a fill light or window light from the front, not the side. The goal is to reveal the subtle texture of black fur.
Good photos get you a breed answer. Whether that cat is at a healthy weight for the breed is a separate check — the cat weight calculator compares weight and age against the standard range for all 61 breeds.
Every feature that decides a breed is visible in a good photo, and the cat breed quiz walks through them one at a time — ears, coat, frame, profile, pattern, tail — then ranks the breeds whose standards match.